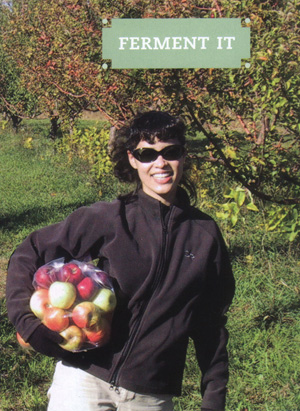
Cider racking
        | Today I 'racked' my hard cider. Racking is a fancy brewing term for siphoning the juice through a tube from one bucket into another bucket. It's not very complicated, but I still prepared a multi-photo blog post to display the process. It turns out that homebrewing is just a few simple activities, separated by long periods of waiting. Dump stuff into a bucket, wait; transfer it to another bucket, wait; open it up and drink it. In that framework, racking is an EVENT! and that makes it noteworthy by default. Nearly two full months after I started the process, I was very excited to pop open the airtight seal on my primary fermenting bucket, and see what was inside. Before I got to that, though, my first step was sterilizing all the equipment I'd be using (we're at the first image now, if you would like to follow along). This is a very important step. It ensures that we don't get any crap into the cider and mess stuff up. Interestingly, I am doing some research at work that has to do with sterilization of medical equipment, so it's a topic that has been on my mind lately. For homebrewing, I fill the bucket with water and cleaning solution and just dump everything inside. It is clean like magic! On the second photo, you can see my improvised mortar and pestle. I crushed 5 Campden tablets and put the powder into my secondary bucket. This stuff will help to kill bacteria and preserve the cider. If I was labeling my drinks, I would have to write 'contains preservatives' on the label. Okay, time to open up the bucket and make the transfer! The third and fourth images show different stages of the racking process. The cider in the primary bucket (on the right) is a very deep color, kind of like, well, fresh apple cider. With only a little juice in the secondary bucket, it's very light and yellow. Once a gallon has been siphoned across, it has already darkened significantly. When I got to the bottom of the bucket and took out the siphon, there was a layer of dark muck on the bottom. This sludge is full of the dead yeasts that fermented my cider for me. Their sacrifice was not in vain. But although we appreciate their contribution, we don't want to drink them, so they got left behind. The lid goes on the secondary bucket, full of fermented apple juice (minus yeast). It was probably a bit lighter in color than the cloudy juice in the primary. I didn't take a picture, though, so the world may never know. Now that it's sealed around the rim and air-tight with a fancy airlock, I can forget about it again for several months. It's supposed to 'clarify' during that time, improving in taste and appearance. But... what does it taste like now? I was a little nervous to find out. Before we get to the tasting, let's have a Science Moment. Next slide, please. In the second-to-last photo, you can see the bottom of a half gallon apple juice bottle. I was saving these on purpose. I planned to use them for storing the finished cider. I changed my mind about that, because I learned an important lesson today about cleaning: if you don't wash out all the juice from your bottles, you'll get to see the results of natural fermentation! That's two months' worth of mold and slime. Gross. But also kind of cool. Finally, I worked up the nerve to actually taste my hard cider. The juice is cloudy, which should decrease over time. I tapped all my wine tasting experience, took a sip, and detected... a distinct taste of apples. It seems to be on the low end of ABV, somewhere around 5% alcohol, which would be about right. Next time I'll buy a hydrometer and find out for sure. Overall, it tastes pretty good, so I'm happy! It would probably be fine to drink it all now, but I've got five gallons of the stuff and besides, I'm eager to see how it changes with aging. |
4
comments
 Labels:
cider,
homebrew,
science
Labels:
cider,
homebrew,
science




















 Mark Z. Danielewski's first novel
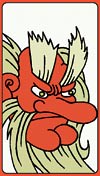 Tom Sloper shows an example of two "blank" cards
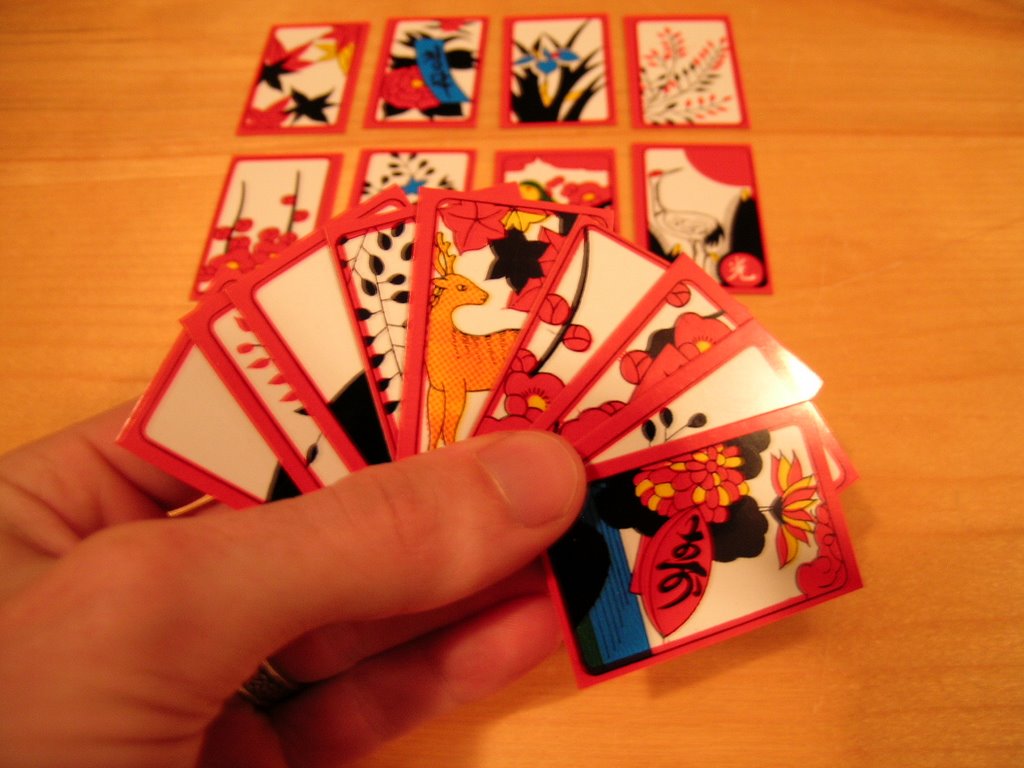
 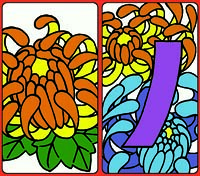 With the second half of the chrysanthemums on display here, I have completed every suit in the hanafuda deck! But that doesn't mean I'm done... not quite yet.
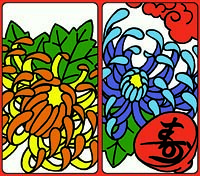 It is fitting that my final suit should be for the current month (September). These two cards portray a chrysanthemum junk (left) and on the right, the final "animal" card, which is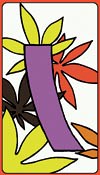
 When I was in Japan with
  Here it is! By popular demand, more or less. This is the second card done up with my trademarked realistic-style maple leaves, which I will be using for the complete suit. I think it combines the best aspects of both designs from
 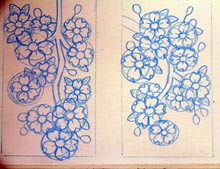 Some of you might be interested to learn about how I make these cards? If you were wondering about the process, then read on, for all will be explained. If you just want to see the finished cards, you can scroll down to the bottom of the post. Everybody wins!
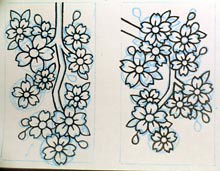 Once I have a satisfying sketch outline, I ink the image. I have done my first ink on the card on the left. On the right card, I've gone over my lines a second time to make them bold and correct any minor mistakes.
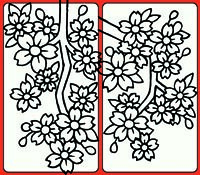 Here are both cards in their boxes. I draw each image at a larger size than the final card, so they overlap with the edges when I first drop them in. You can see them here before cropping.
 Coloring is the final step. I use the border red in at least one card for every suit. If it's appropriate, I also try to apply colors that I have already used in previous suits. Apart from that, I use whatever color strikes my fancy. On these cards, I picked a yellow from before and a brand-new pink for the blossoms.
 This card is the last of the "brights." Back in the day, during hanami, groups of cherry blossom viewers would use fancy curtains (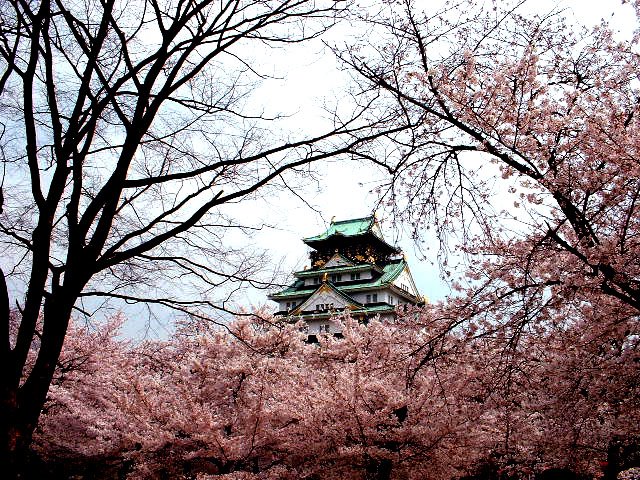
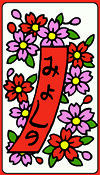 While I tally the votes for the dueling maples, let's move on to that most stereotypically Japanese flower, the cherry blossom. They're called
 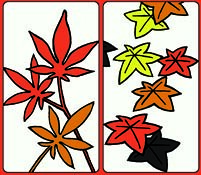 Let's get some reader participation into the artistic process! What you see here are two different styles of maple leaves, and I have to choose one as a template for the rest of the maple suit. I kind of like them both, but I can't decide which one to use. So, you get to decide for me!